


How-to guide · AirTag
Use the correct coin cell, close the cover securely, then check the tracker nearby. Replacing an AirTag battery is a short maintenance job. The useful finishing step is confirming that the right item responds in Find My.
Source-based instructions checked November 20, 2026. Follow Apple’s instructions for your model. Illustrations show preparation and everyday use; they do not show the mechanism or prove a completed repair.
Start with the low-battery alert and the correct item
Apple’s battery replacement guide explains that a low-battery notification can appear on your iPhone. To check the item, open Find My, choose Items and select the AirTag. A low-battery message appears below its name when a replacement is needed.
Before opening anything, confirm which tracker you are working on. If you maintain several key rings or bags, keep the selected item beside the phone. Put the other trackers aside so that a sound from a different tag does not confuse the final check.
Prepare the replacement and a clear work area
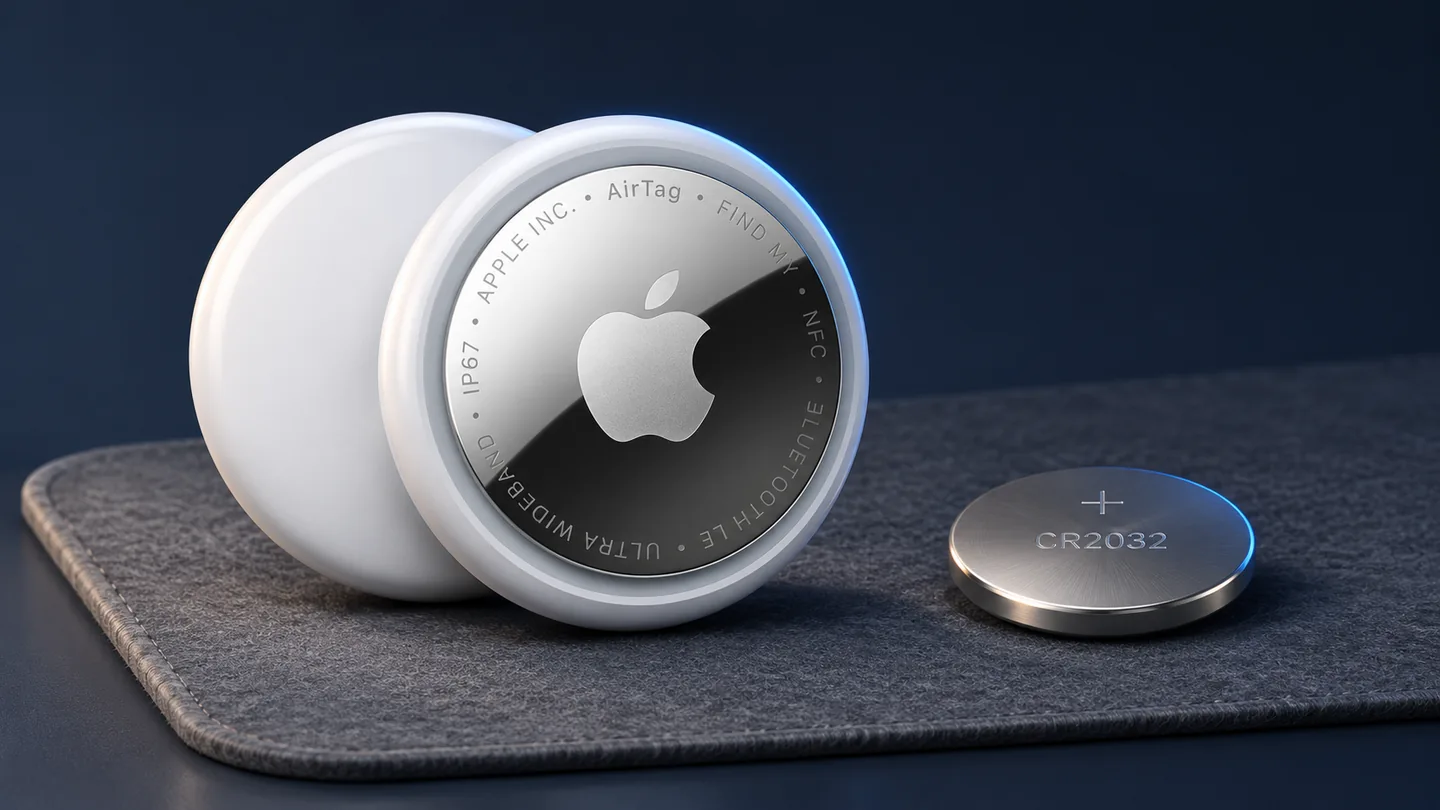
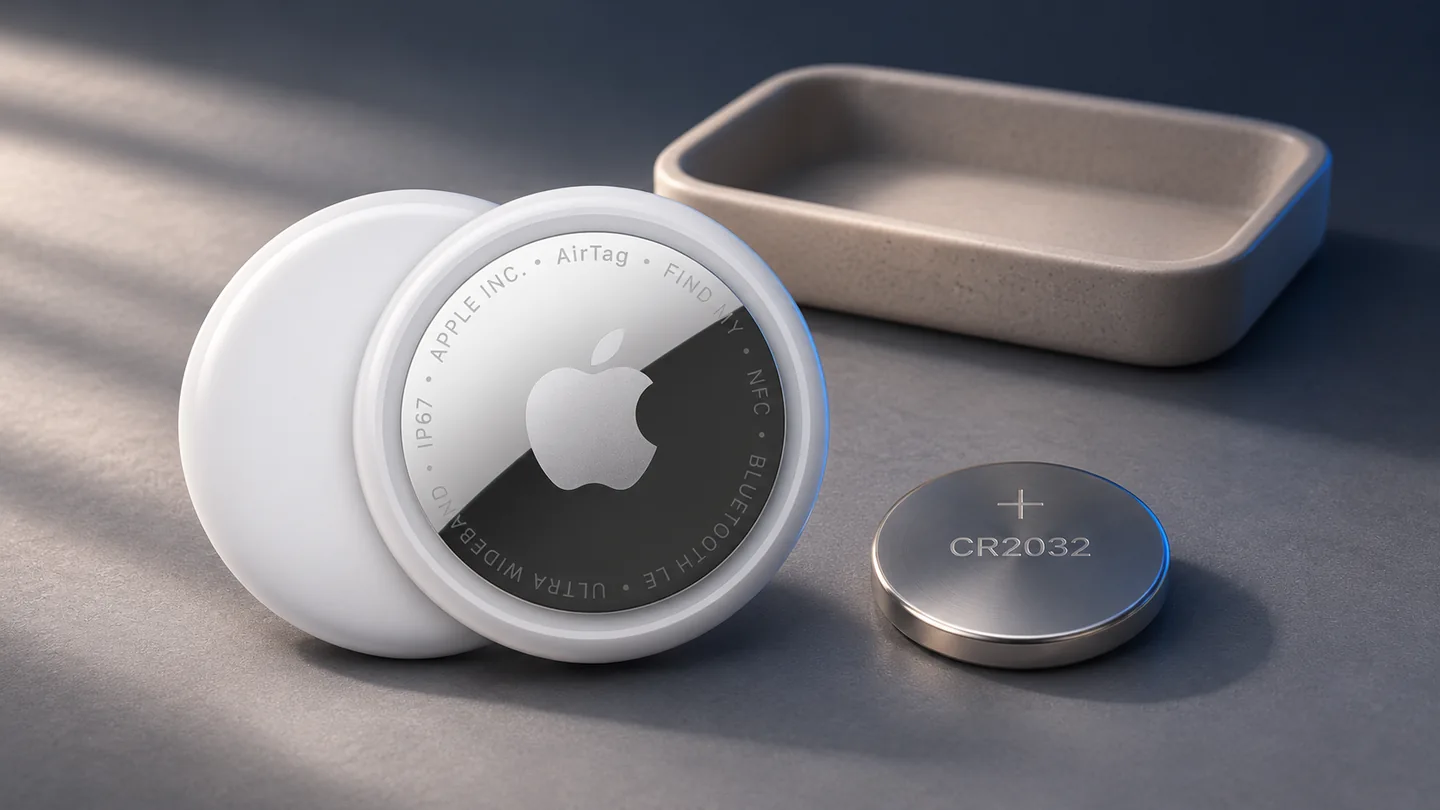
Apple specifies a CR2032 lithium 3V coin battery for its replacement procedure; the second-generation specification sheet also lists a user-replaceable CR2032. Check the exact battery marking before opening its packaging.
Apple recommends bitterant-coated cells and packaging that explicitly identifies AirTag compatibility, while warning that some coatings may prevent a cell from working. Choose a compatible replacement rather than trying to alter a coating. Keep the new and used batteries, cover and tracker away from children.
Replace the battery using Apple’s cover procedure
The second-generation safety and handling guide documents the following sequence. Check your own unit against the instructions before proceeding, and stop if a damaged cover cannot be closed securely.
- Press the battery door and turn it counterclockwise with two fingers until rotation stops, then release.
- Lift off the door and remove the old coin cell.
- Insert the replacement CR2032 with its positive (+) face upward.
- Return the cover to its intended alignment. Apple’s general replacement guide identifies three tabs and matching slots.
- Gently press and turn clockwise until the cover reaches its stop.
Keep the removed battery separate from the new one while you work. Once the tracker is closed, put the used cell into an appropriate battery collection or disposal route for your area. Do not leave it loose on the desk or inside a bag.
Check the AirTag before putting it back on your keys
Apple’s replacement guide describes a sound when the battery makes contact. For the phone check, use Apple’s Find My item guide: select the nearby AirTag under Items and use the sound control if available. Listen to confirm that the selected tracker is the one responding.
| Check | What it tells you | Next step |
|---|---|---|
| Battery contact sound | The cell has made a connection | Complete the secure-cover check |
| Cover closes securely | The compartment is mechanically closed | Continue with the nearby Find My check |
| Selected item responds to sound | You have confirmed a nearby response from that tracker | Return it to its holder |
| Only an older map timestamp appears | A saved location is not the same as a fresh nearby response | Use the nearby check and Apple support guidance |
If it still does not respond
Recheck the cell type, positive-side orientation and stated AirTag compatibility. Keep the tracker nearby and select the correct item in Find My. If the cover is damaged, the cell will not connect, or the problem persists with an appropriate replacement, use Apple support instead of modifying the tracker or battery.
A battery check and a finding-feature check answer different questions. A fresh battery does not establish a fixed tracking range or add a finding feature to an unsupported phone. For the ecosystem differences, see our Pixel Tag vs AirTag comparison.
Frequently asked questions
Which battery does an AirTag use?
Apple lists a CR2032 coin cell, with a lithium 3V CR2032 specified in its replacement guide. Choose packaging that confirms AirTag compatibility.
Which side faces up?
Apple’s instructions put the positive (+) face upward. Follow the model’s cover-alignment instructions when closing the compartment.
Is a map location enough to confirm the replacement worked?
A map can show a previous location. Perform the nearby sound check on the selected tracker and confirm the cover is securely closed.
Sources and method
- Apple battery replacement and coating guidance
- AirTag second-generation specifications
- Second-generation safety and handling
- Find My nearby sound control
Official documentation checked November 20, 2026. QGH has not performed a hands-on test for this guide. Manufacturer links are direct, non-affiliate links.